1. Backfill
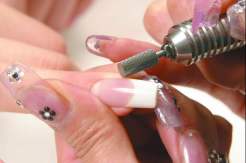 |
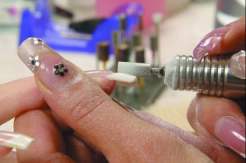
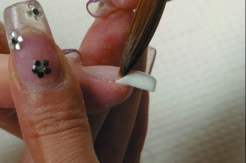
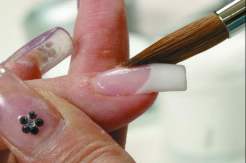
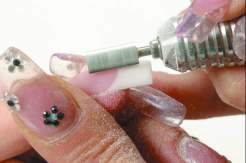
1. Cut along the new smile line you would make.
*The angle of bit is the important point. |
 |
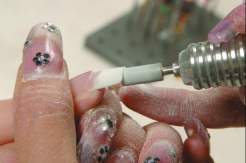
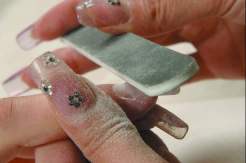
2. Make the thickness without damaging the natural nail. |
 |
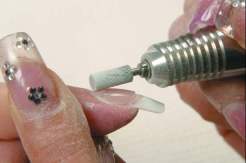
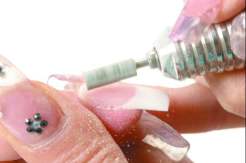
3. Gently move the bit using circular motion. |
 |
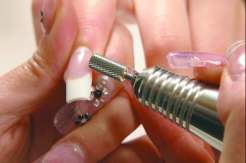
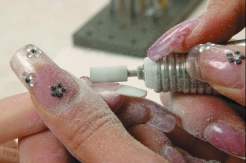
4. Polish up the smile line using the edge of the bit. |
 |
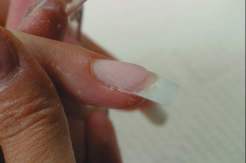
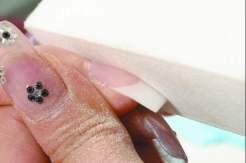
5. Thin the free edge until it becomes same thickness as smile line. |
 |
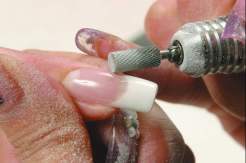
6. To refine a C-curve, use the roundness of the bit. |
 |
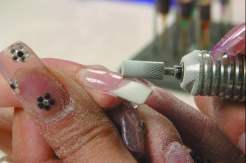
7. Move the bit along the cuticle line. Remove the lifted products at this moment. |
 |
8. Around the cuticle area, move both the bit and client’s finger for fine operation. |
 |
9. File the whole parts of the nail. |
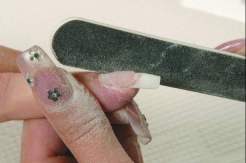 |
10. File the side of the nail finely. |
 |
11. Sterilize the nail and apply a primer to the natural nail. |
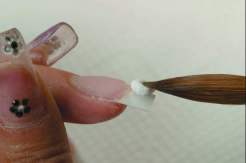 |
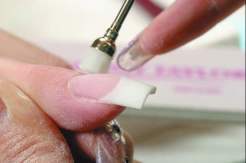
12. Place a ball of a 1- to 1 ratio liquid and powder on the center of nail tip. |
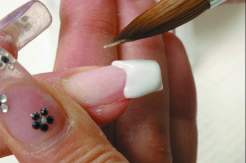 |
13. Press the product into place with flat side of the brush. |
 |
14. Whipe the smile line. |
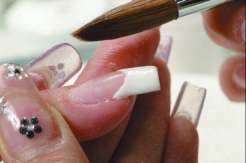 |
15. Level the thickness of the free edge. |
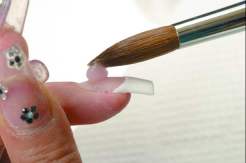 |
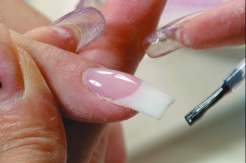
16. Apply a ball of pink powder on the nail bed. |
 |
17. Smooth the surface of the nail with the brush. |
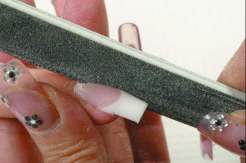 |
18. Refine the nail shape with a file. |
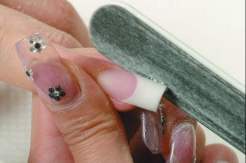 |
19. Adjust the side straight. |
 |
20. From the cuticle area, smooth the surface of the nail by using the bit. |
 |
21. Shape the nail with gentle pressure. |
 |
22. Smooth the nail with a buffer. |
 |
23. With a brush, remove any dust on the cuticle area and the nail wall. |
 |
24. Apply acrylic sealer to the top and back to finish the nail. |
Nail products
- ▼Nail products
- G5
- G3
- G1
- NP300A/NF32A
- SUP200/SUG12
- UP200/UG12
- UP220/ND7
- ■Bit for nail
- ■Bit for foot
- For maintenance of bit
Industrial products